
This article explains PHP 7.0 and Apache 2.4 installation to ScriptCase use.
Supported Operating Systems:
- Windows Server
- 2008 SP2
- 2008 R2 SP1
- 2012
- 2012 SP2
- 2016
- Windows
- 7 SP1
- Vista SP2
- 8
- 8.1
- 10
Necessary Files:
- PHP 7.0: Click Here
- Apache 2.4: Click Here
- mod_Fcgi: Click Here
- SourceGuardian Loader: Click Here
NOTE: You should download PHP 7.0 NTS ( x86 or x64 ), Apache 2.4 ( x86 or x64 ) and mod_fcgi ( x86 or x64 ).
- After downloading, extract the PHP and Apache files in your C: directory of your Operating System.
- Rename the PHP folder to php and the Apache folder to Apache24.
- Extract the modfcgi file, and copy the file mod_fcgid.so to the folder
C:\Apache24\modules

Setting up Apache
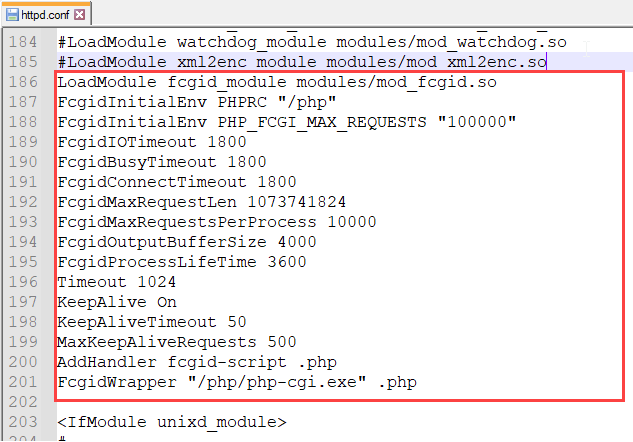
Edit the file httpd.conf located in C:\Apache24\conf\
- Add the content below after the last line
#LoadModule
LoadModule fcgid_module modules/mod_fcgid.so FcgidInitialEnv PHPRC "c:/php" AddHandler fcgid-script .php FcgidWrapper "c:/php/php-cgi.exe" .php
- Still in the
httpd.confsearch for #ServerName www.example.com:80 and change to #ServerName localhost:80 - Change the content of the directive according to the example below:
DirectoryIndex index.html index.php index.phtml
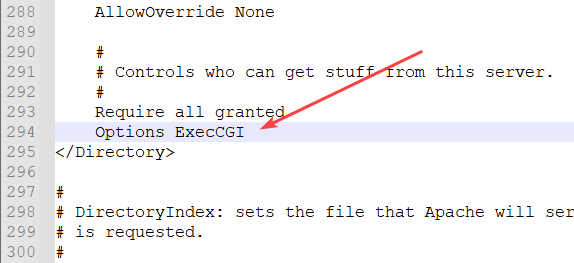
- Add the text:
Options ExecCGIon the directive Directory “c/:Apache24/htdocs”
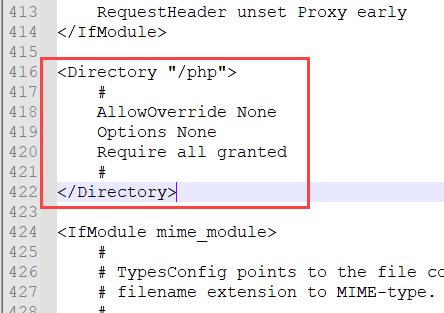
- Search for IfModule mime_module and add the content below: ` AllowOverride None Options None Require all granted
`
Apache Installation
- Access the command prompt with the Administrator privileges and run the command below:
c:\Apache24\bin\httpd.exe -k install
IMPORTANT: If an error occurs, it might inform that the file msvcr110.dll is missing, so you can download the file by clicking here. Extract and place the file within the directory: C:\Windows\System and C:\Windows\System32. Rerun the command in the prompt.
Setting up PHP
- Access the PHP folder in
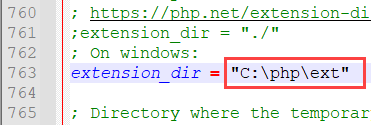
C:\and rename the php.ini-development file to php.ini - Edit the php.ini file, search for extension_dir and assign this value “C:\php\ext”
- Activate this extensions listed below (You just need to remove the (;) from the start of each line)
extension=php_bz2.dll extension=php_curl.dll extension=php_gd2.dll extension=php_imap.dll extension=php_interbase.dll extension=php_ldap.dll extension=php_mbstring.dll extension=php_exif.dll extension=php_mysql.dll extension=php_mysqli.dll extension=php_oci8.dll extension=php_pdo_firebird.dll extension=php_pdo_mssql.dll extension=php_pdo_mysql.dll extension=php_pdo_oci.dll extension=php_pdo_odbc.dll extension=php_pdo_pgsql.dll extension=php_pdo_sqlite.dll extension=php_pgsql.dll extension=php_pspell.dll extension=php_shmop.dll extension=php_sqlite.dll extension=php_sqlite3.dll extension=php_xmlrpc.dll extension=php_xsl.dll extension=php_zip.dll
Important note: By default some PHP functions are disabled, but they are important to ScriptCase. Access the php.ini file and change the item disable_functions according to the example below: disable_functions= ““
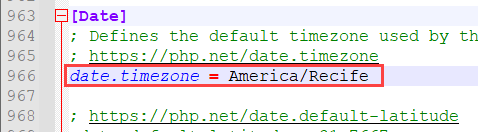
Setup the TimeZone according to your region. You need to use the value available at the PHP documentation Click Here to view
- Save all these modifications.
- Restart the Apache service using the command (Use this command in a cmd with the Administrator privileges.):
c:\Apache24\bin\httpd.exe -k restart
Enabling SourceGuardian Loader
- Extract the file downloaded.
- Copy the ixed.7.0.win file to the folder c:\php\ext.
- Edit the php.ini file, at the end place the content below:
[SourceGuardian]zend_extension=C:\php\ext\ixed.7.0.win- Restart the Apache service using this command (Use this command in a cmd with the Administrator privileges.):
c:\Apache24\bin\httpd.exe -k restart
Scriptcase Manual Installation
- Download ScriptCase with the extension zip at www.scriptcase.net and extract it on the root of your web server.
- After extracting, rename the folder to scriptcase.
- Access Scriptcase from your browser using the URL below:
- By default, the selected language is English.
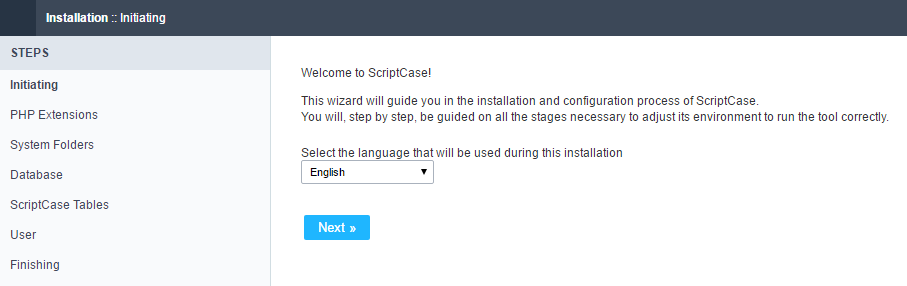 By default the selected language is English.
- Verifying the necessary extensions for ScriptCase to work and the modules for the database connections.
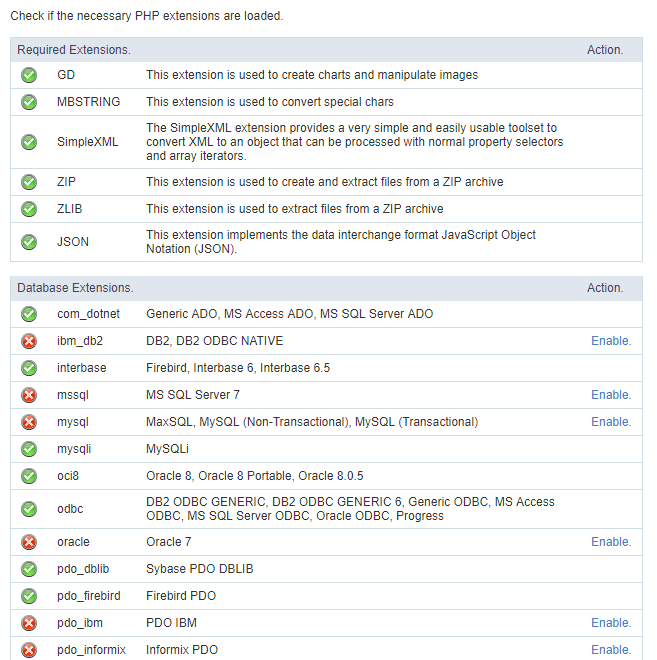 Verifying the necessary extensions for ScriptCase to work and the modules for the database connections.
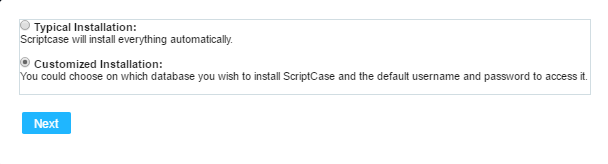
Typical Installation
- On this option, ScriptCase will be installed with the default settings.
 On this option, ScriptCase will be installed with the default settings.
- Login Screen.
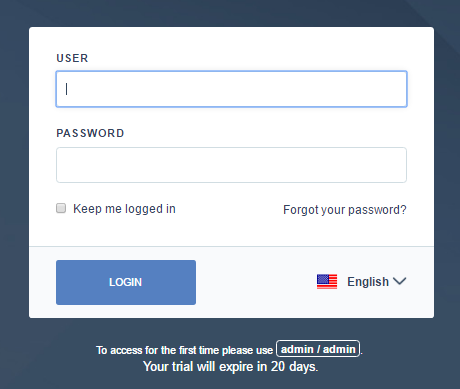 Login Screen.
Custom Installation
- On this option, the user will choose the settings for the installation.
 On this option, the user will choose the settings for the installation.
- Verify the system’s directory permissions.
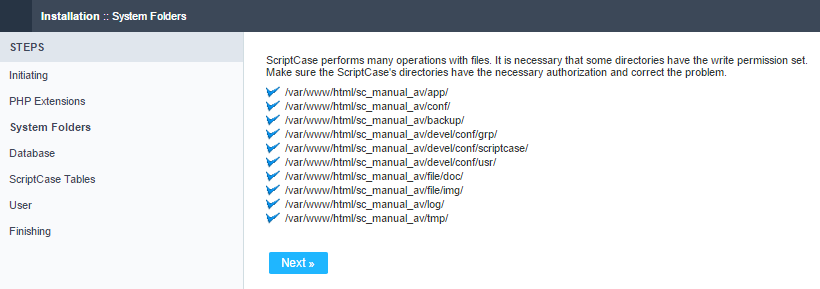 VVerify the system’s directory permissions.
- We can choose the database that ScriptCase will use to store the data in.
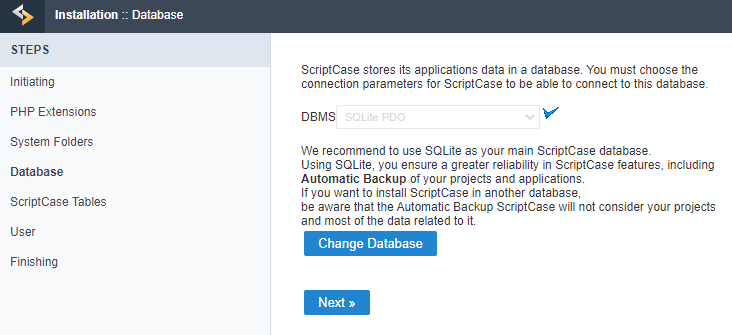 We can choose the database that ScriptCase will use to store the data in.
- Displaying the ScriptCase’s tables creation.
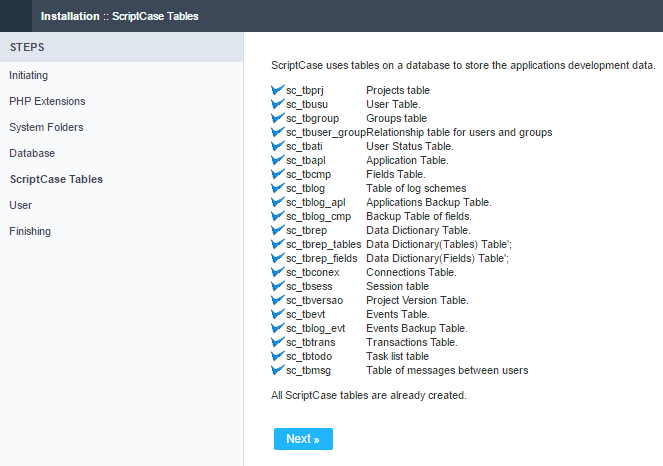 Displaying the ScriptCase’s tables creation.
- Setting up the user to access ScriptCase.
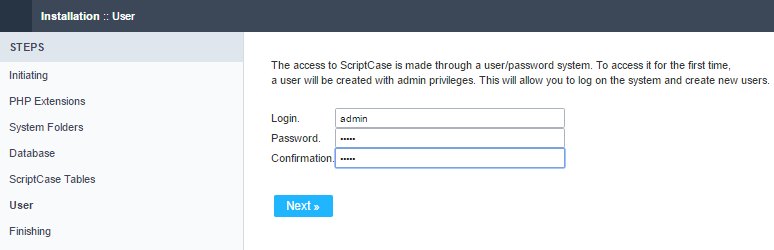 Setting up the user to access ScriptCase.
- Finishing the custom installation
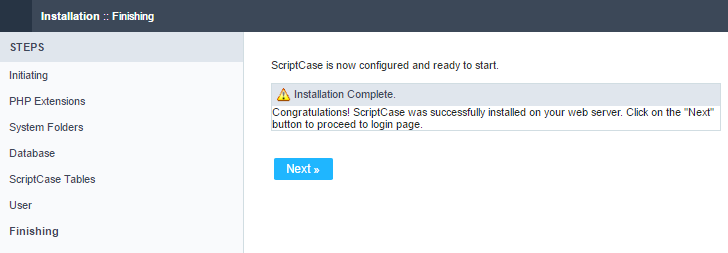 Finishing the custom installation
- Login Screen.
Login Screen.