How to open a ticket.
How to open a ticket.
To open a ticket in the customer area of Scriptcase Host, follow these steps:
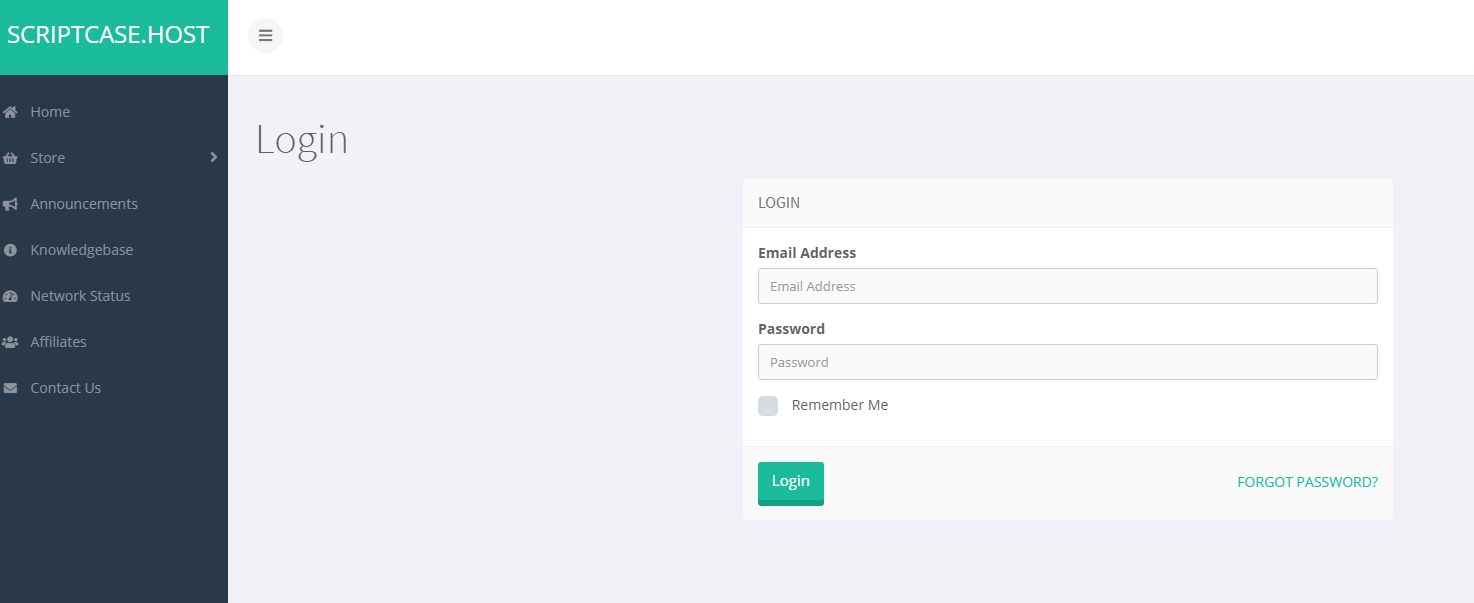
1. Access the client area at https://clientarea.scriptcase.host/clientarea.php.
2. Log in with your username and password.
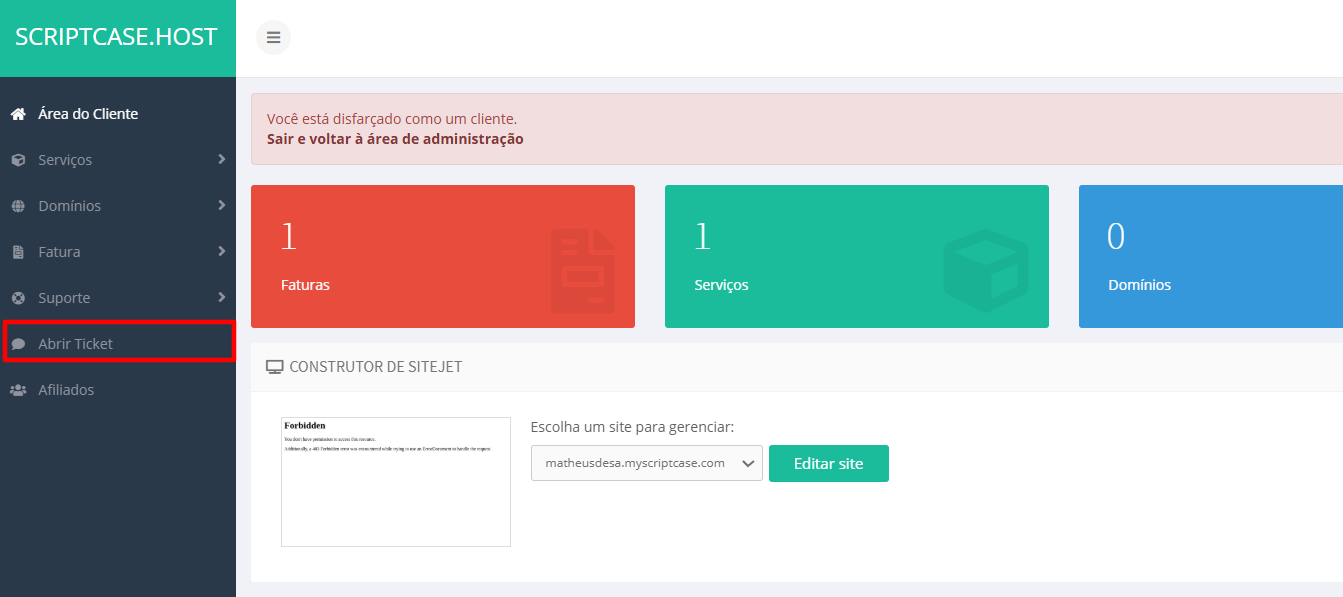
3. In the menu, click on Support > Open Ticket.
1. Access the client area at https://clientarea.scriptcase.host/clientarea.php.
2. Log in with your username and password.
3. In the menu, click on Support > Open Ticket.
4. Choose the department you want to open the ticket with.
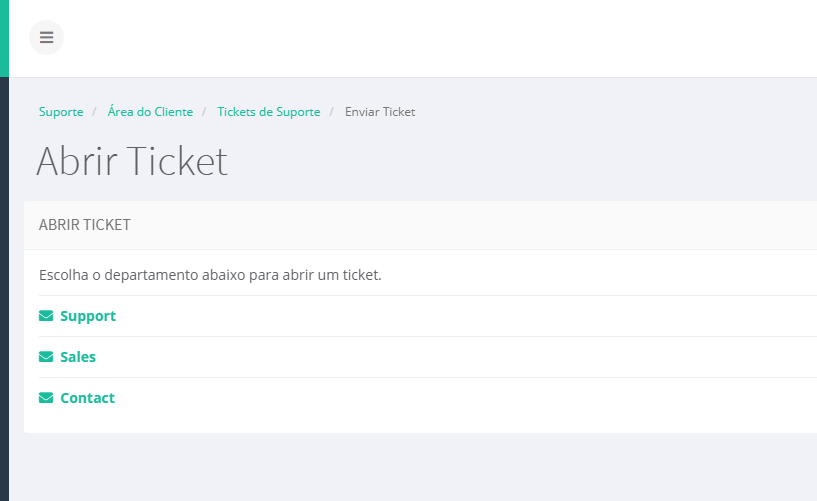
5. Describe what you need and click "Submit".
After opening the ticket, you can track the responses in the same area. 🚀
Related Articles
How to use the Setup Python App
How to use the Setup Python App 1. In cPanel, open Setup Python App. Click Create Application. Choose the Python version. Application Root: folder where your application will be located. Application URL: domain or subdomain that will run the app. ...Establishing remote connection to the MySQL database
Note: In this tutorial, we will be using DBeaver. 1.Open DBeaver Launch DBeaver. 2. Create a New Connection Click the "New Database Connection" button or press Ctrl + Shift + N. In the list that appears, select MySQL (you can type "MySQL" in the ...How to Import a Large Database via SSH
You need to have: Access to the cPanel of your hosting account. SSH access enabled (if you don't have it, request it from your hosting provider). The .sql backup file already uploaded to the server (via FTP or through the cPanel File Manager). A ...How to edit a file in FIle Manager
1. Log into your cPanel account. 2. In the "Files" section, click on "File Manger" Icon. 3. Navigate to the directory where your file is located and right click on the file and then click on "Edit"" in the Context Menu. 4. If the small "Code ...How to create a Web Disk account
Create a Web Disk account to manage, browse, upload and download files to the web server. The Disco Web account directories exist in relation to your account's home directory. The home icon means your home directory (“/ home/Your_cPanel_User”). This ...