# Xampp Installation

XAMPP allows you to easily install Apache on your own computer, regardless of your operating system (Linux, Windows, MAC or Solaris).
First, you have to download XAMPP: To download the XAMPP, you must take into account the PHP version.

For this example, we are going to be installing Xampp with PHP 7.3.30 version in order to install Scriptcase 9
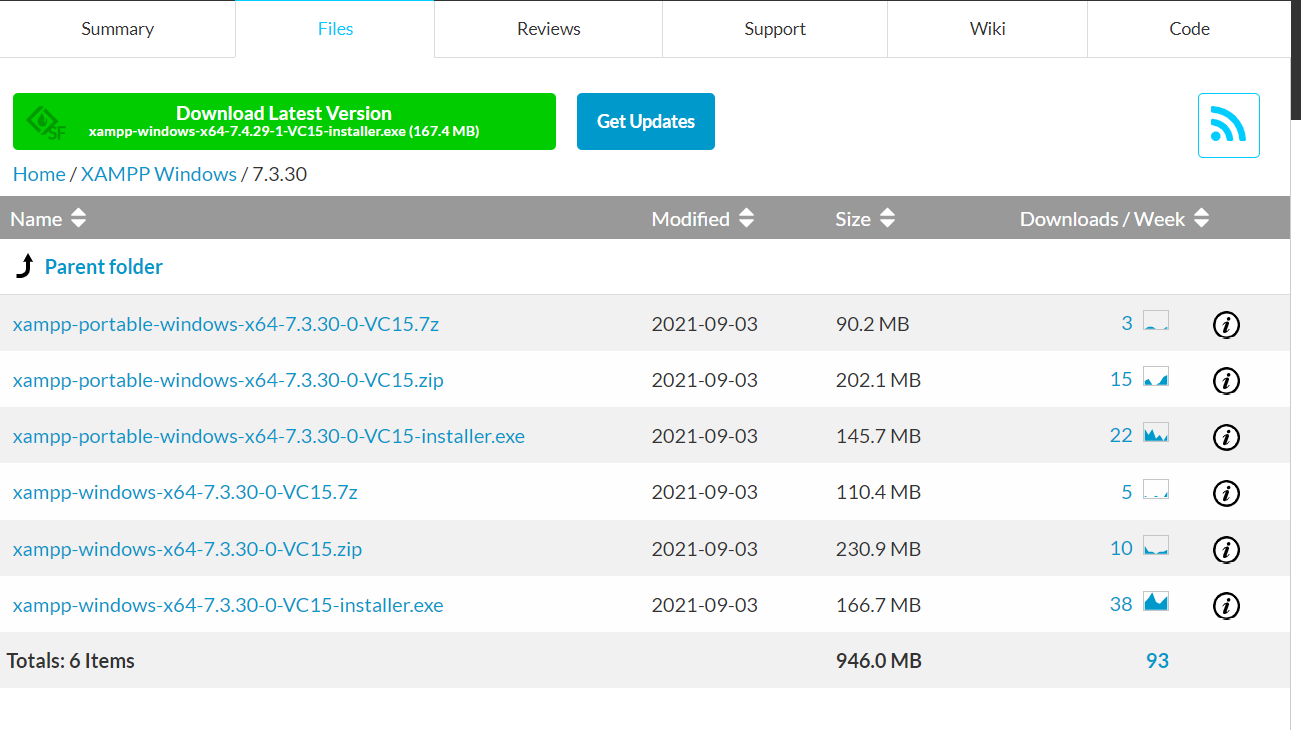
After downloading Xampp, proceed with the standard installation.
## Configuring php.ini in Xampp to a better performance with Scriptcase
##
**1 -** Go to C:\xampp\php and open the php.ini file with your text editor.
**2****-**Search for the directives below and increase their values for the values we recommend, then save the file before exiting.
- `max_execution_time = 3600`
- `max_input_time = 3600`
- `max_input_vars = 10000`
- `memory_limit = 1024M`
- `post_max_size = 1024M`
- `upload_max_filesize = 1024M`
- `max_file_uploads = 200`
- `short_open_tag = On`
- `session.save_path = "C:\Windows\Temp"`
## Enabling IonCube Loader
Scriptcase uses IonCube Loader with PHP 7.3 so, to get the zip file, click on the link below to download the file:
****
**1 - Extract the file loader****ioncube\_loader\_win\_7.3.dll****and paste it into**"C:\xampp\php\ext"
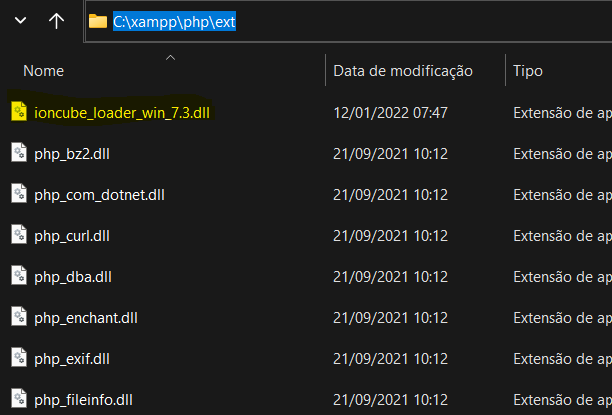
**2 -**Go to "C:\xampp\php" and open php.ini file with your text editor
**3 -** Scroll down 'till the end of the file and paste this: **[SourceGuardian] zend\_extension=C:\xampp****\****php\ext\ixed.8.1.win**

**Note: If the Apache service is on, stop the service and start the service again in the Xampp control panel.**
# Installing Scriptcase
Now that Xampp is already installed and php.ini properly configured, download Scriptcase zip file here: [https://www.scriptcase.net/download/](https://www.scriptcase.net/es/descargar-scriptcase/)
Once the download of the .zip is finished, we proceed to unzip the .zip inside the folder htdocs of the XAMPP: C:\xampp\htdocs
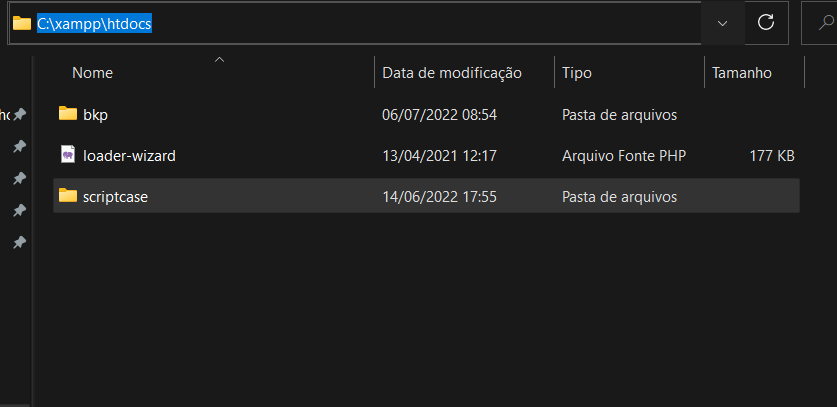
In your browser, enter the scriptcase webpage installation: **l****ocalhost:8080/scriptcase**
In this example, XAMPP was configured to use port 8080.
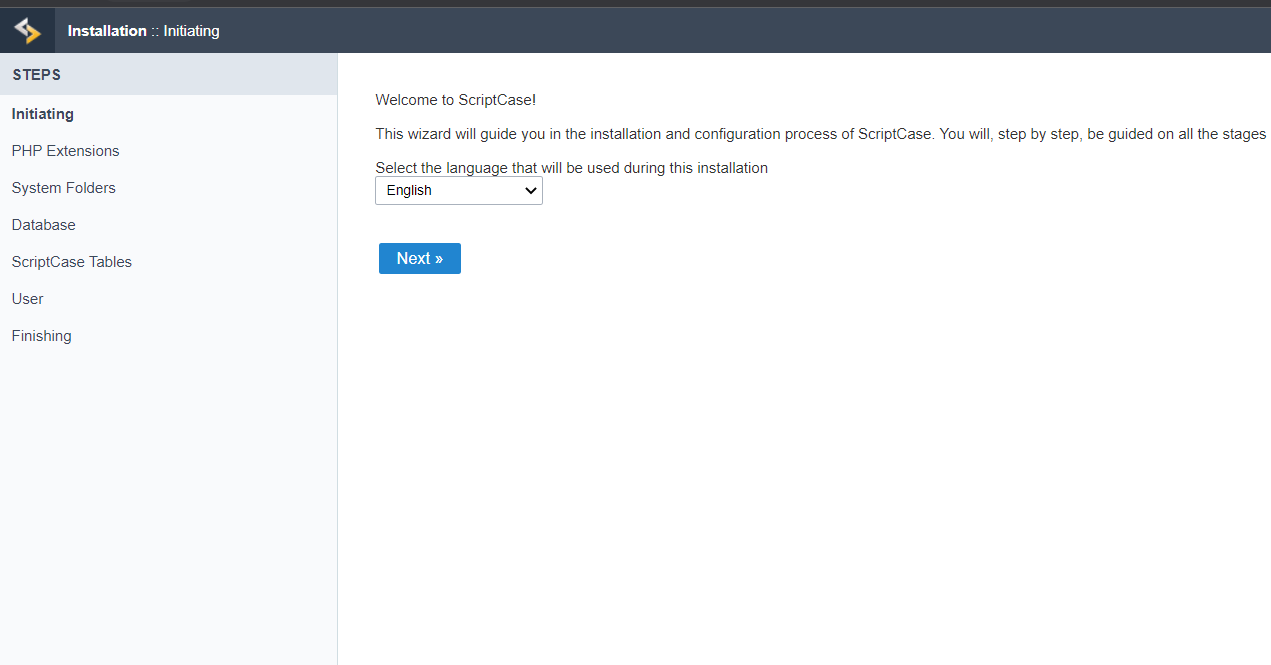
You will see a screen like the imagem below so you just need to click on "Next"
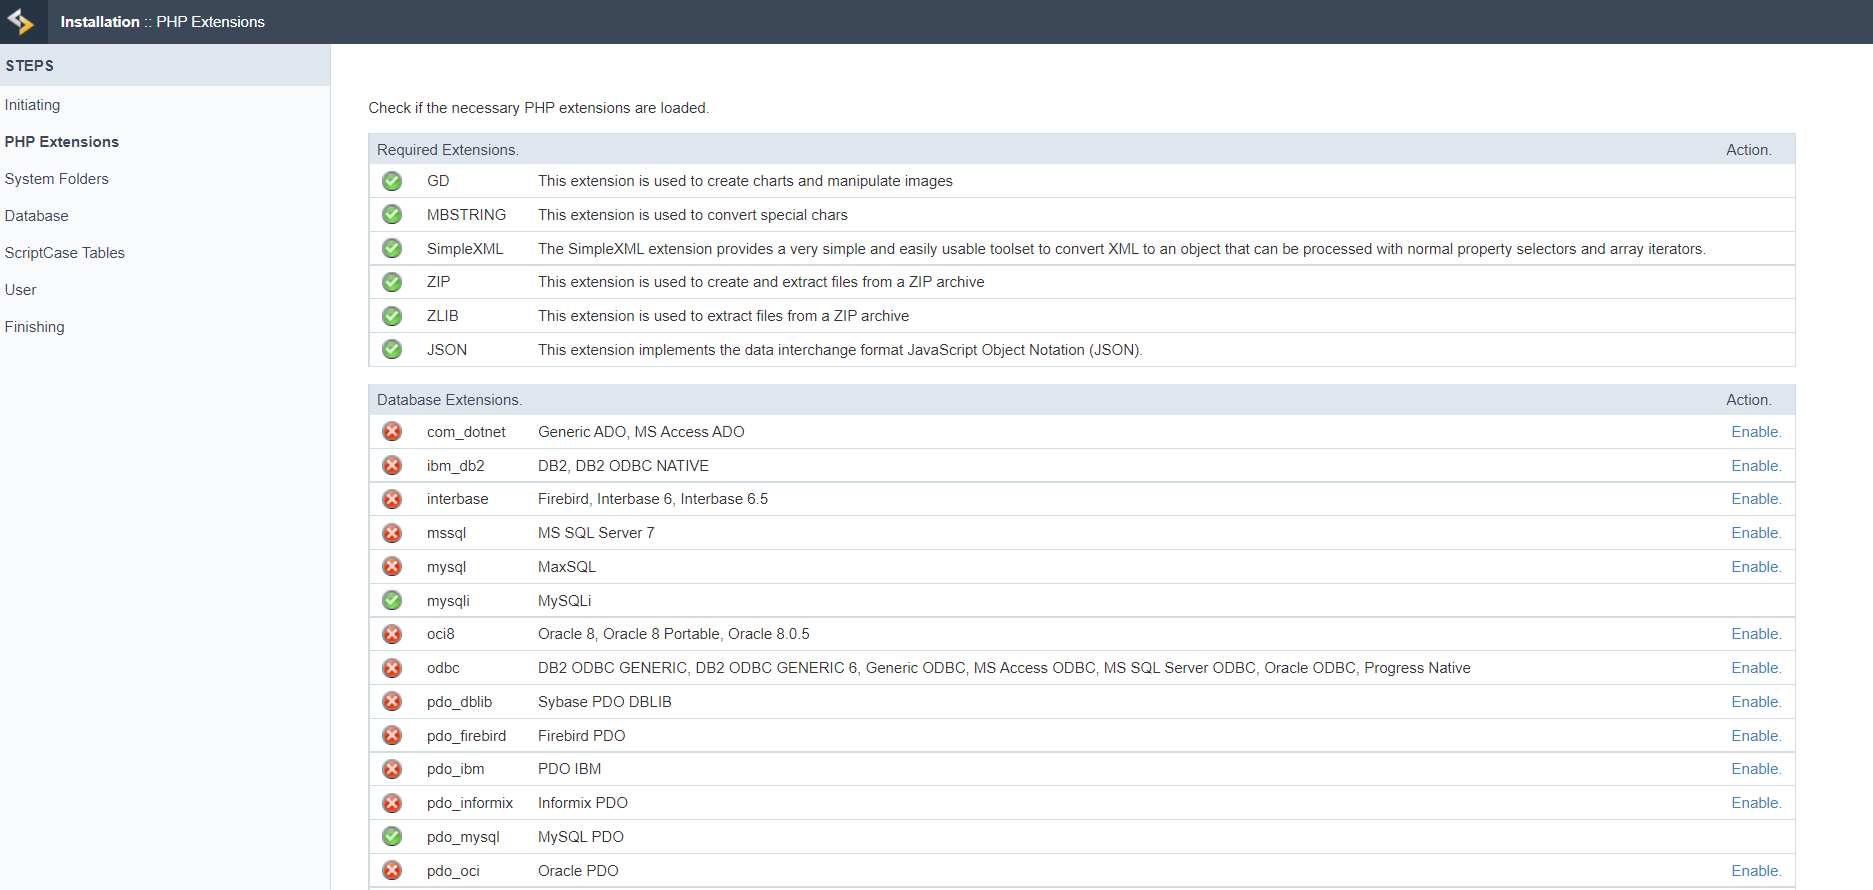
On the next installation Screen, go to the bottom of the page and click on next
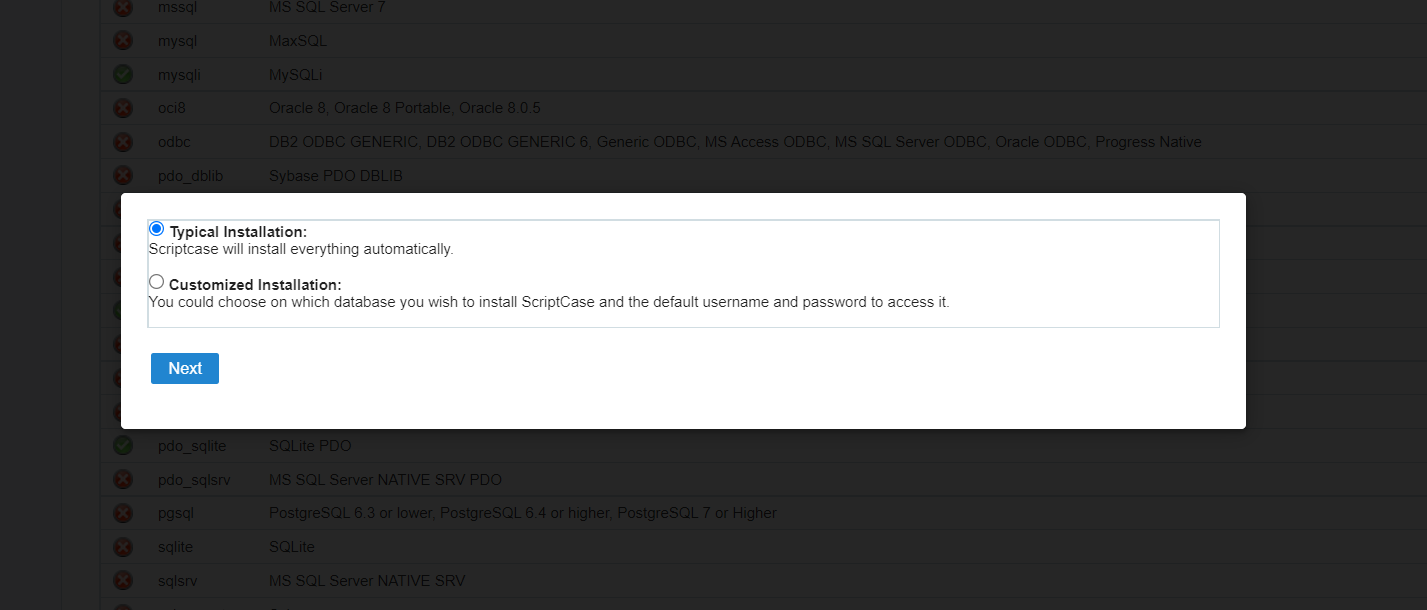
Now, choose the Typical Installation option and click "Next"
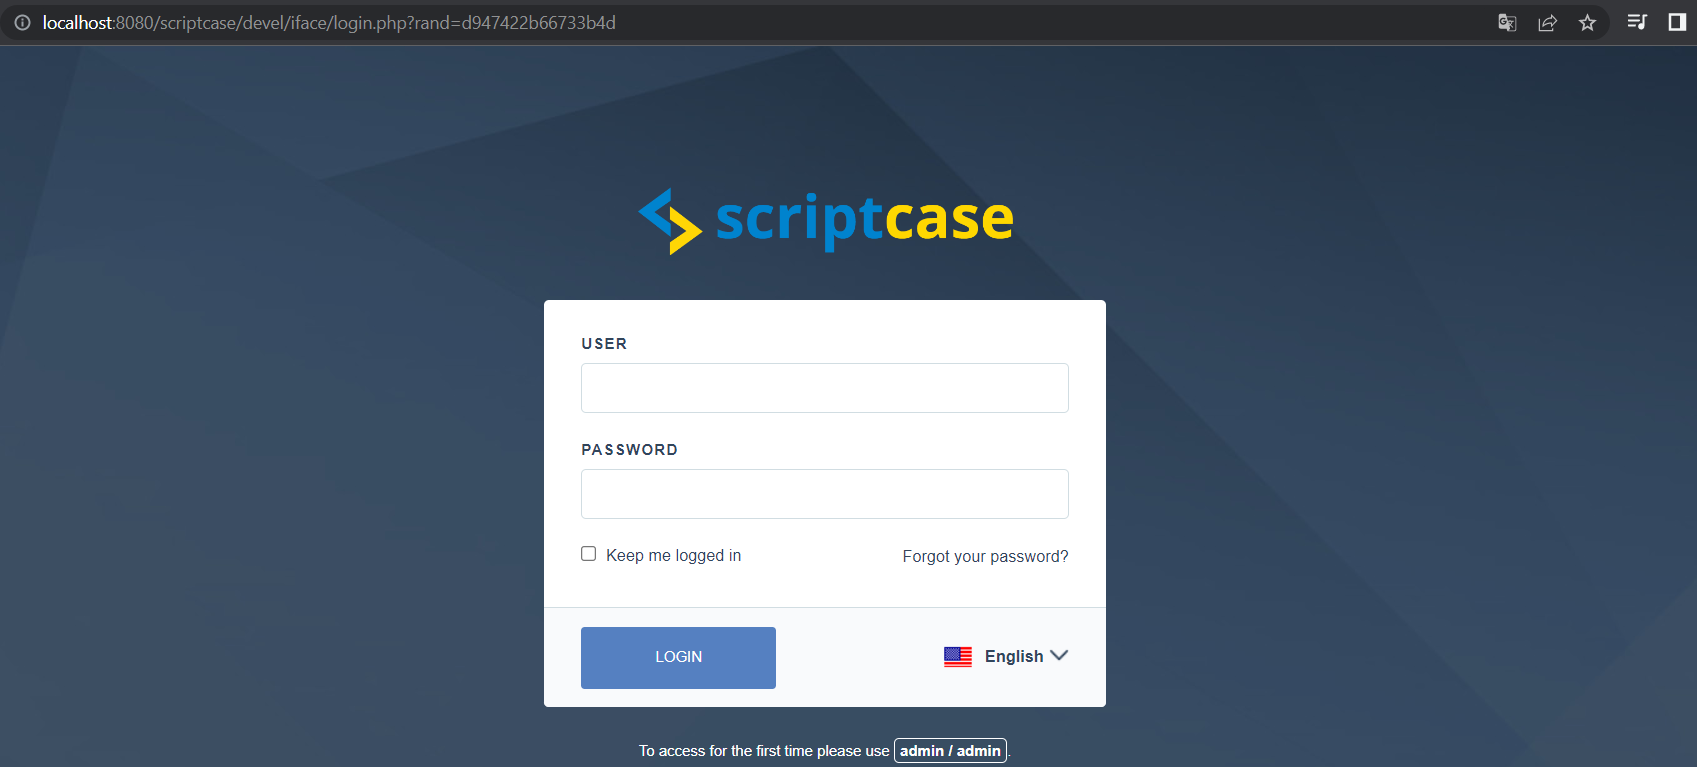
When the installation is finnished, you will be automatically redirected to Scriptcase login page