# **Xampp Installation Using PHP 7.3**

XAMPP It allows you to easily install Apache on your own computer, regardless of your operating system (Linux, Windows, MAC or Solaris).
First you have to proceed to download XAMPP PHP 7.3:
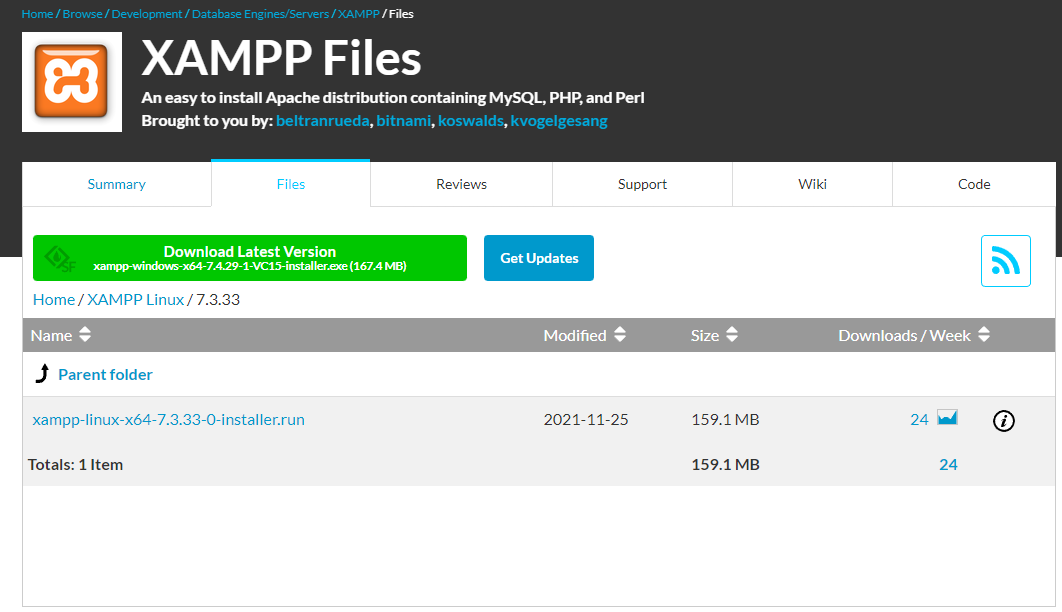

After downloading Xampp, proceed with the normal installation.
## **Configuring php.ini in Xampp**
**1 -** Go to your browser and enter in the URL below to test the Xampp and find the path to the **PHP.ini** file
**127.0.0.1/dashboard/phpinfo.php**
**2 -** The path will be shown as in the image:
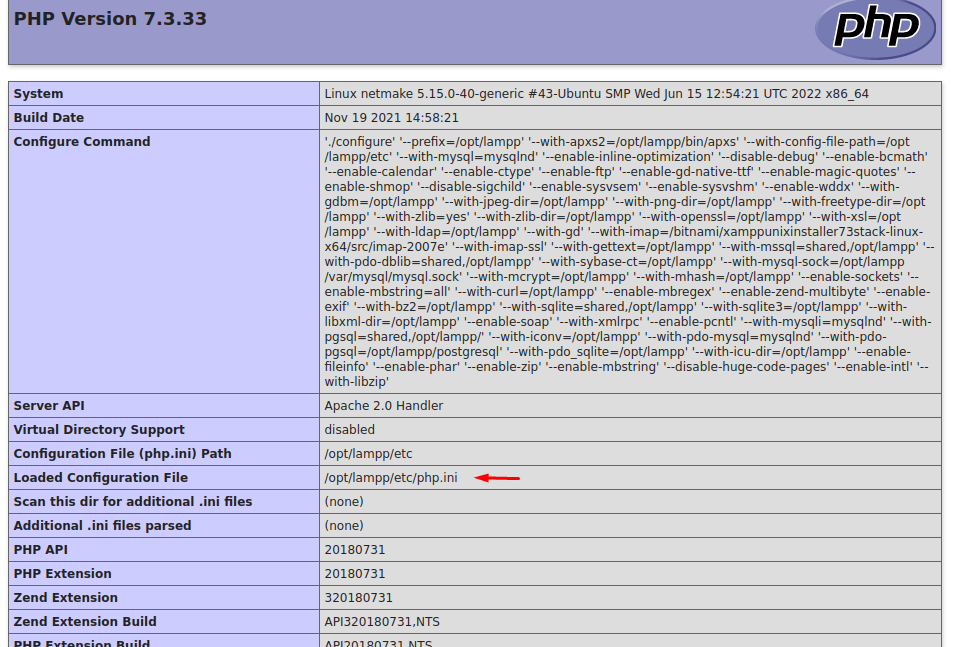

php.ini path: /opt/lampp/etc/php.ini
**3 -** Enter in the file and search for the directives below and increase their values like for the values we recommend, then save the file before exit.
- `max_execution_time = 3600`
- `max_input_time = 3600`
- `max_input_vars = 10000`
- `memory_limit = 1024M`
- `post_max_size = 1024M`
- `upload_max_filesize = 1024M`
- `max_file_uploads = 200`
- `short_open_tag = On`
#
# Enabling the IonCube Loader
We proceed to download the IonCube [Click here](https://www.ioncube.com/loaders.php)
**4 -** Copy the file **ioncube\_loader\_lin\_7.3.so** and past in the **extension\_dir** directory of your PHP.
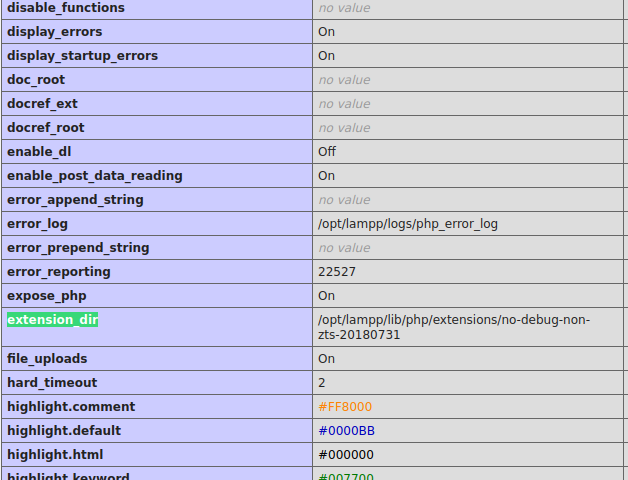

extension\_dir path : /opt/lampp/lib/php/extensions/no-debug-non-zts-20180731
**5 -** We enable the extension within the **php.ini**:
Edit the **php.ini** file and below the last line set the path to the extension in the `zend_extension` parameter:
zend\_extension = "/opt/lampp/lib/php/extensions/no-debug-non-zts-20180731/ioncube\_loader\_lin\_7.3.so"

Restart the apache of the XAMPP:
**In xampp root directory:**
1. sudo ./xampp restart

# Installing Scriptcase
Once the installation is finished we must proceed to download the .zip file from the ScriptCase page: [Click Here](https://www.scriptcase.net/download/)
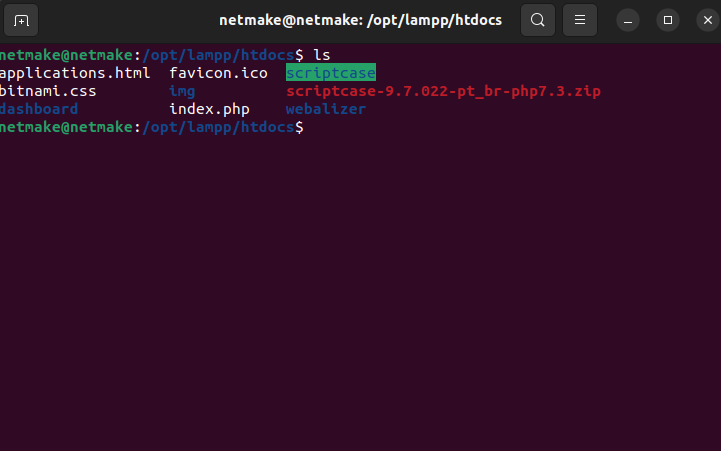
Once the download of the .zip is finished, we proceed to unzip the .zip inside the folder**htdocs of the XAMPP**:

/opt/lampp/htdocs

Renamed the file after decompression to "**scriptcase**" as the image below
## Proceed to the installation of ScriptCase:
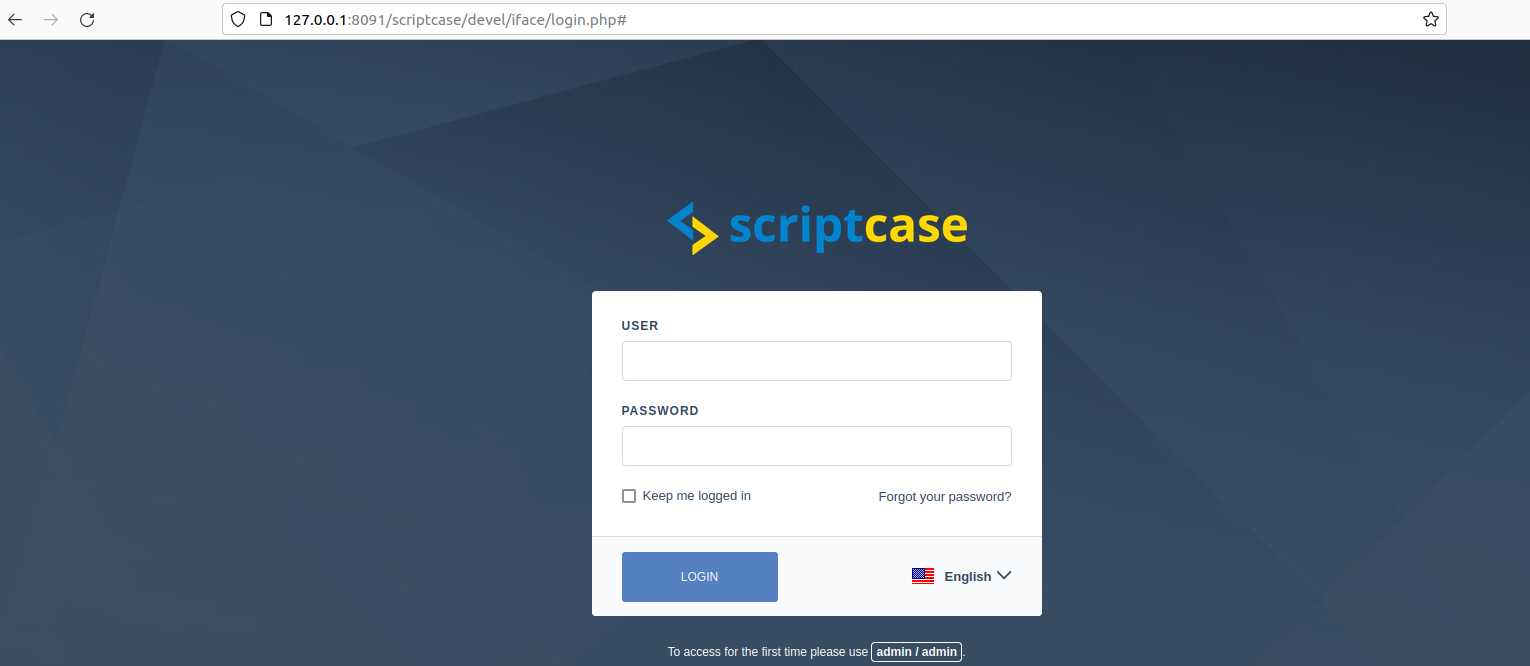
To enter in the scriptcase:
Follow this address in your browser:

In this example the apache of the XAMPP was running on port **8091.**
Then, proceed to normal scriptcase installation: